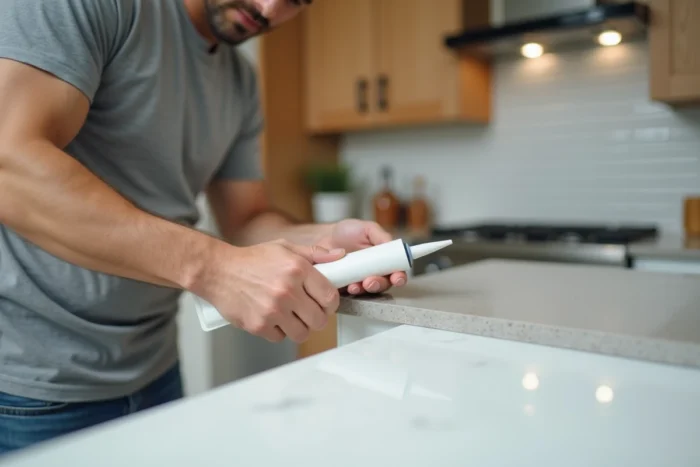
A gap between the wall and the countertop appears when the dimensions of standard cabinets do not match the irregularities of the structure. This gap, which varies from a few millimeters to several centimeters depending on the areas, poses a triple problem: water infiltration, accumulation of food residues, and visual disruption.
Properly filling it requires choosing the right method based on its width and the use of the affected area.
Door and appliance swing: a criterion to check before any installation
Before selecting a profile or seal, it is essential to check a rarely addressed point: the swing. A closet door, a drawer, or the hinge of a built-in oven can hit the filling device if it protrudes a few millimeters inward.
For a corner kitchen, open each movable element located near the gap. Note the travel of the drawer and the radius of the door. If the free space between the open element and the wall is less than the thickness of the proposed profile, you will need to opt for a flush solution (soft seal, silicone) rather than a protruding cover.
This check prevents the need to dismantle a glued profile a few weeks after installation, which often damages the finish of the countertop. It also explains why silicone sealant is sometimes preferable to a rigid profile, even when the width of the gap would allow the latter.
Several solutions for filling a gap between wall and countertop detail this preliminary diagnosis and the techniques suited to each configuration.
Silicone seal or sealing profile: choose based on the width of the gap in the kitchen
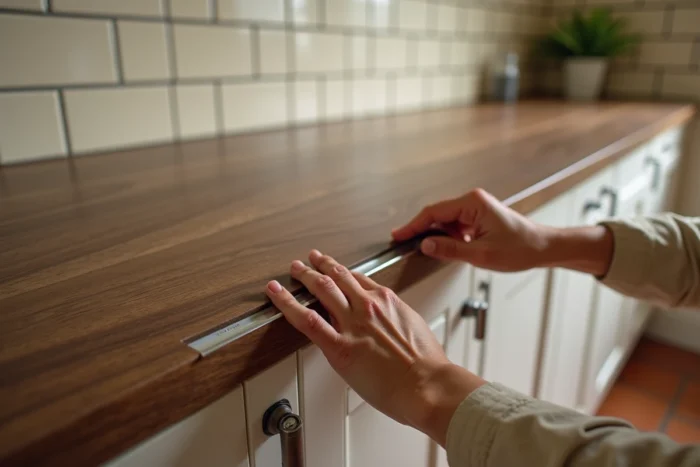
The width of the gap determines the technique. Two main families cover the majority of cases encountered in a standard kitchen.
Sanitary silicone seal for narrow gaps
Up to a few millimeters, a sanitary silicone sealant applied after degreasing is sufficient. Classic acetic silicone adheres well to tiles and laminate, but it yellows in areas exposed to grease splashes. Neutral silicone lasts better over time.
Installation requires masking tape on both sides of the seal, followed by a smooth finish in a single pass. Removing the tape before complete drying ensures clean edges. The curing time varies depending on the product, but all contact with water should be avoided during this phase.
Rigid or flexible profile for wider gaps
Beyond a few millimeters, silicone alone retracts and cracks. A PVC or aluminum sealing profile is fixed by clipping or gluing to the edge of the countertop and then pressed against the wall. It absorbs width variations along the entire length of the countertop.
Flexible rubber profiles are suitable for very irregular walls (exposed stone, thick plaster). Rigid aluminum profiles provide a cleaner finish on smooth walls. In both cases, the color of the profile should closely match that of the countertop or backsplash to avoid creating a distracting line.
Filler strip: correcting a misalignment of kitchen furniture
The filler strip is a piece of wood, melamine, or laminate placed vertically between the last cabinet and the wall. It is not meant to seal but to compensate for a misalignment.
This distinction is crucial. If the gap results from a wall that is not square, a simple seal will not correct the visual defect: the countertop will appear crooked. The filler strip, cut to measure, restores a straight line between the cabinet and the wall.
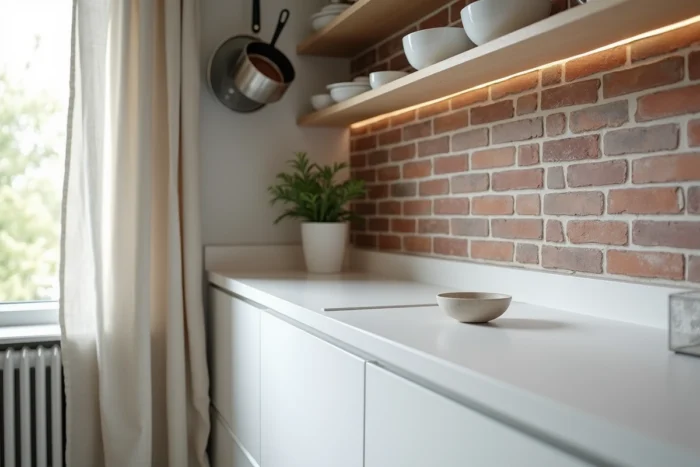
Its installation requires precise cutting. You need to measure the gap at least three points (top, middle, bottom) to trace a filler that follows the curve of the wall. A poorly fitted filler leaves a residual gap that will still need to be filled with silicone, which negates part of the aesthetic benefit.
- Prefer a waterproof material (water-resistant MDF or high-pressure laminate) if the filler is near the sink or cooktop, as water and steam splashes are common in these areas.
- Match the color of the filler to that of the existing facades: kitchen designers often offer offcuts of panels in the same decor as the doors.
- Fix the filler with screws or mounting glue, never by simple fitting, to prevent it from coming loose due to heat or humidity.
Rental kitchen: filling the gap between wall and countertop without drilling
In rentals, any permanent modification to the wall or furniture may result in a deduction from the security deposit. Drill-free systems meet this constraint.
Adhesive backsplash strips, placed between the countertop and the wall, conceal a gap while protecting the wall from splashes. Their removal typically leaves no trace if the surface is smooth (tiles, glass, washable paint).
For wider gaps, a self-adhesive silicone profile presses directly onto the edge of the countertop. It can be removed cleanly at the end of the lease. This option is not suitable for porous surfaces (raw brick, scraped plaster), where the adhesive leaves residues.
- Test adhesion on a hidden area before applying the strip along its entire length.
- Clean the surface with white vinegar and dry it before application, to ensure the adhesive lasts over time.
- Avoid suction cup solutions, which are too unstable in a kitchen environment exposed to steam and grease.
Transforming a lost space into narrow vertical storage is a recent alternative. Sliding columns a few centimeters wide, designed for spices or bottles, fit between the last cabinet and the wall without heavy fixation. The space-saving compensates for the cost of the module.
The final choice always depends on the width of the gap, the nature of the wall, and the occupancy status of the housing. A well-installed silicone seal solves the majority of common cases, while the filler strip and sliding storage address more significant gaps or corner configurations.